Are You A Weekend Warrior Looking To Install Your Own Concrete?
Consider these tips before you make an expensive mistake!
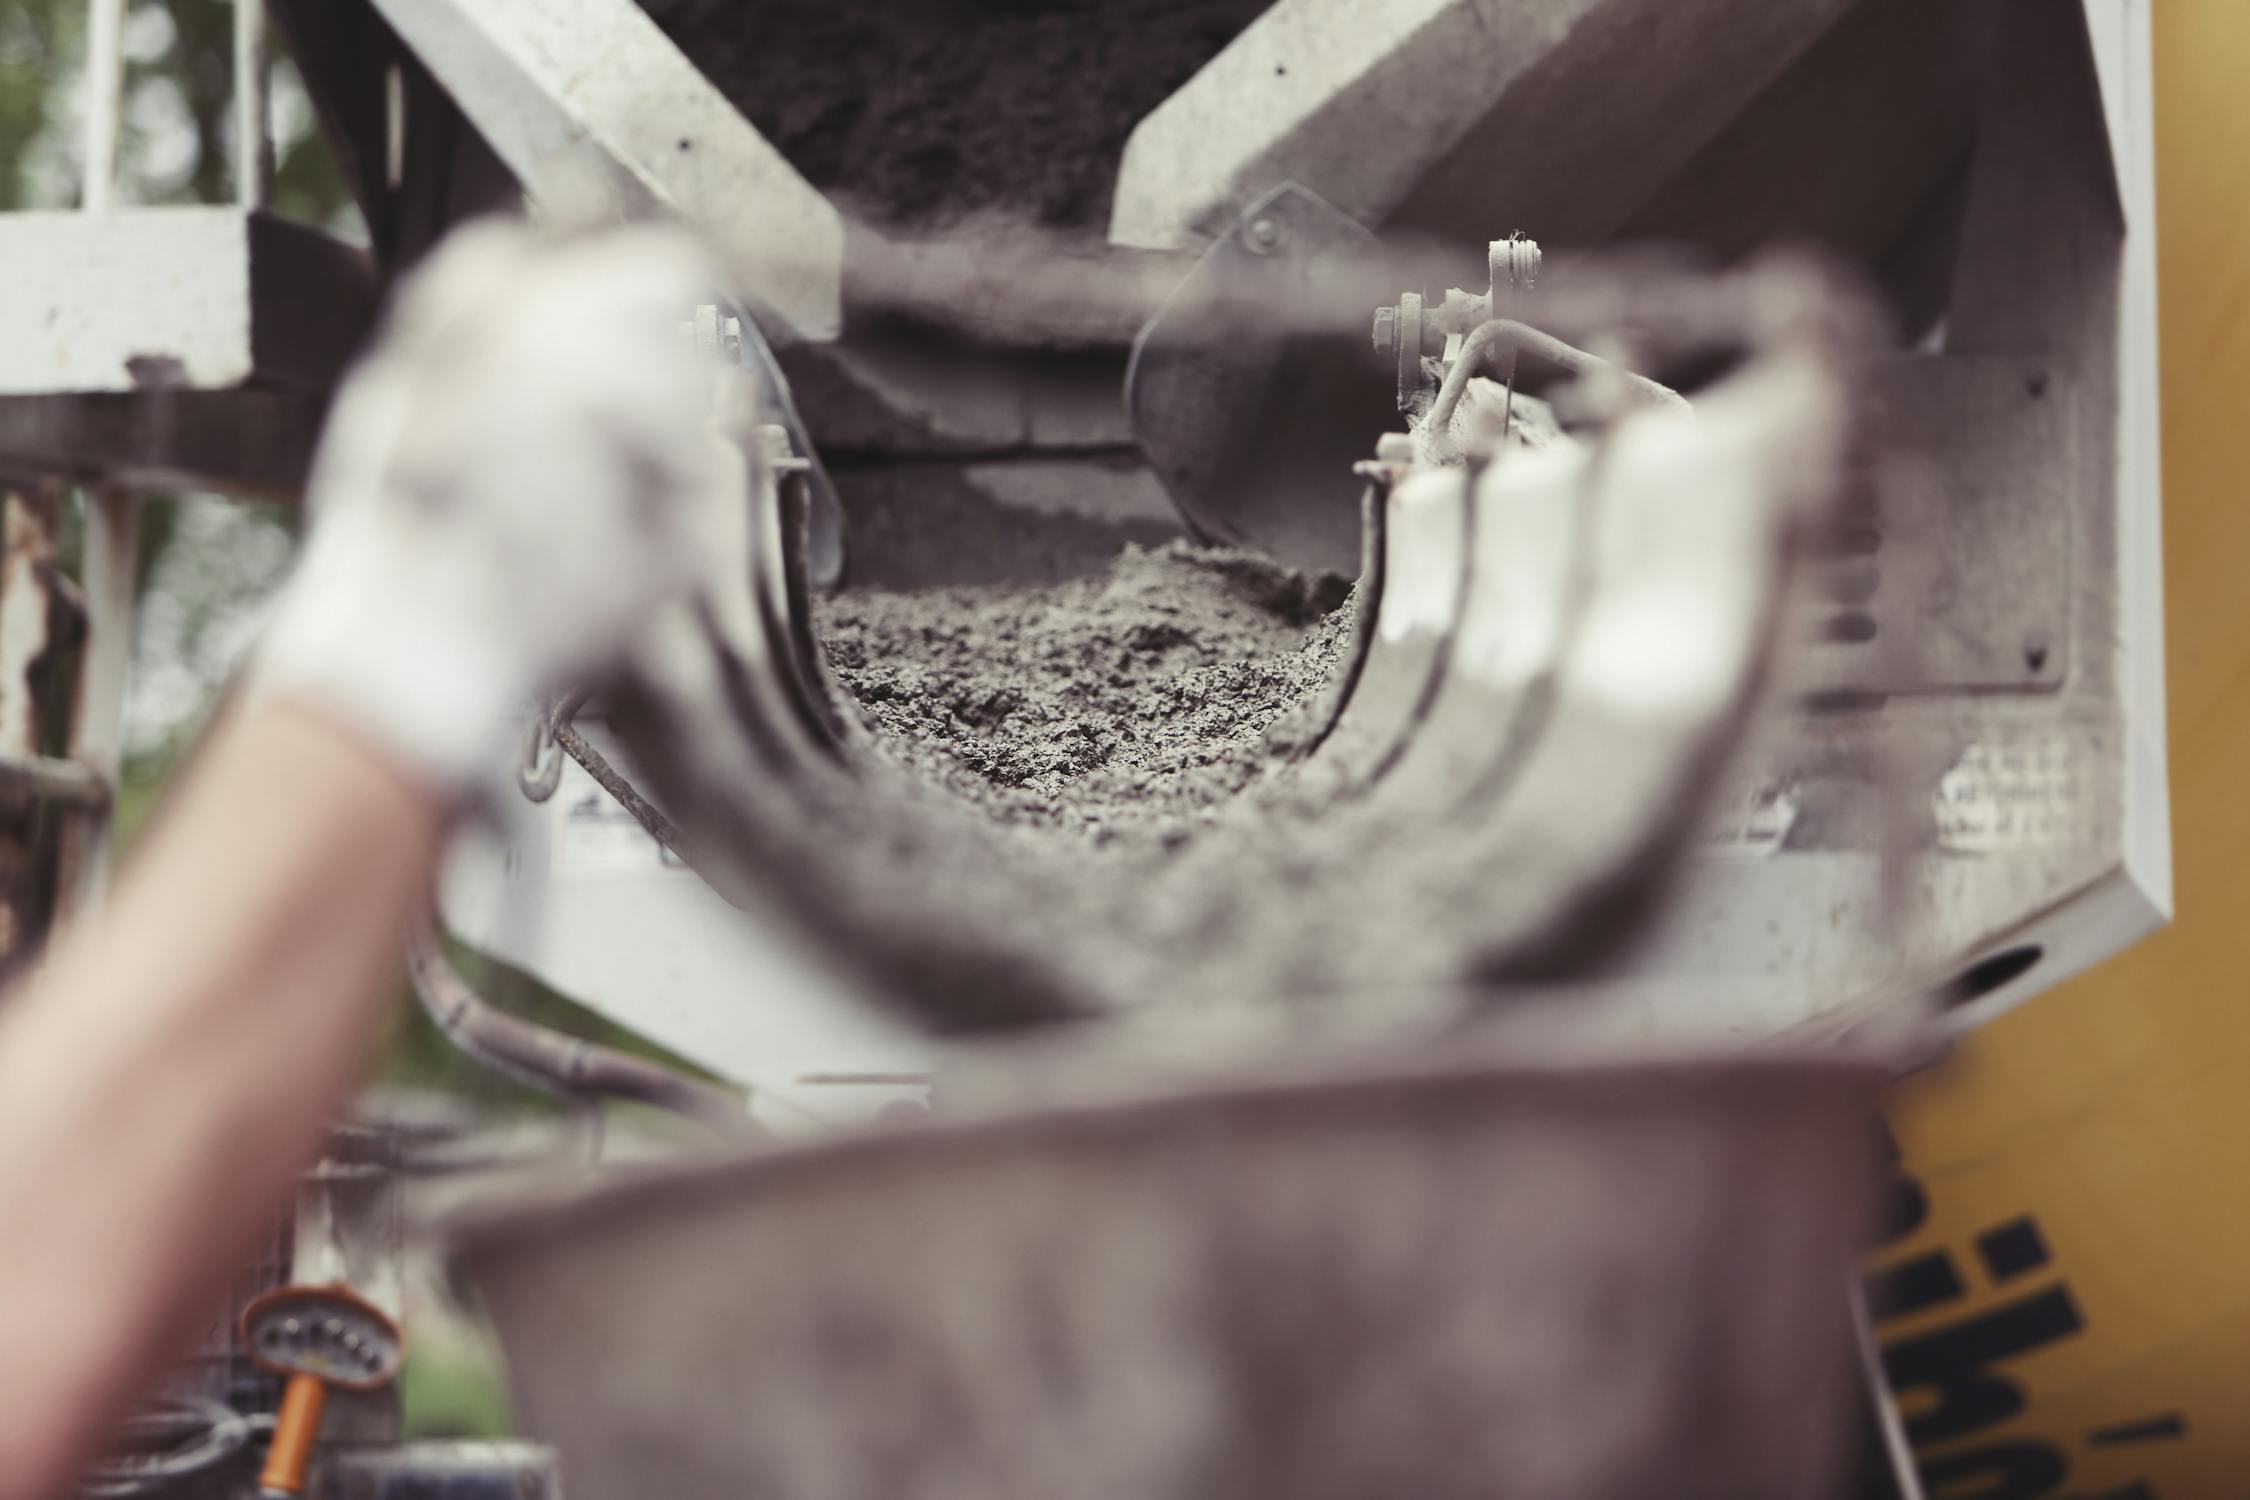
“Set in stone” is a commonly used phrase when you’re talking about permanence, and concrete is a perfect example. This versatile material can be fairly cheap to install, but can show you, and your wallet, a world of pain if you have to remove and re-pour (aka RR). This is exactly why installing concrete isn’t for the fainthearted– it’s a serious job for serious DIY-ers.
So, with that out of the way, here are some helpful tips to keep in mind before you start your project!
Do:
Prepare your space.
As I’m sure you already know, before you can start your concrete installation, you have to prepare the area. Like any project, laying the groundwork comes first and it’s the most important job! One of the many complaints heard among DIYers is that they guessed at how much area they wanted to cover. This leaves them with a patio that’s too small for all their furniture, room to walk around, or space to even rearrange said furniture. Sometimes this means your walkway is too narrow, or maybe even too large.
With just a little more planning, you’re able to avoid a mishap like that. We suggest using a garden hose to outline your patio, walkway, or driveway! It’s flexible and can give you a true visualization of how large your area is and how much material you’ll need. Problem solved!
Be realistic.
When you’re dealing with a large project (+500sqft), don’t trick yourself into thinking you’ll be able to finish it in your two-day weekend. The bigger the project, the bigger the pain in your back will be, most likely. We understand that you’ve probably accomplished more in less time before, but concrete is just plain difficult to work with. Because of this, we strongly suggest DIYers to take their time and chunk their work– prep the area one weekend and do the actual install the next. And always have an extra set of hands, eyes, and ears to help you out if you can.
Installing concrete is hard, and misery loves company!
Want Some Advice From A Professional? Call Us Today At 770-237-9101
Create a drainage plan.
We’ll say it again for the people in the back– create a drainage plan! We can’t stress this enough. Proper drainage is necessary if you want to keep your concrete in tip-top shape, prevent a breeding ground for mold, and keep your foundation safe. Create a drainage plan that lets the excess water that sits on top drain away from the foundation of your house and into your garden or yard– the water is needed in those areas.
This tip is most forgotten and the most necessary, go figure. So, again, create a drainage plan that will save yourself and home pain and money!

Don’t:
Take the easy way out.
Nothing will bite you in the butt harder and faster than taking the cheap or easy way out– every DIYer knows this. If you want to create a problem for a different day, then by all means. But if you’re looking to have a quality patio or walkway, then you know better. Projects such as these need preparation, and more than just measuring where you want the concrete to be at the end of the day. You’re responsible for proper excavation, so knowing where every possible gas, phone, and water line could be.
This is not the time to just guess, take short cuts, and hope for the best. This step in the process is a must, so make sure you’re being proactive.

Use plastic to prevent weed growth.
Usually, seeds start at the top of the cement and work their way down through the crevices and cracks. Placing plastic down will promote water collection, which can cause more than just a weed-issue later on. This will produce slime- and mold-filled soil and stop drainage. Using plastic to prevent weeds won’t work as well as using a landscape fabric or a polymeric sand.
Is Your Job Turning Out To Be A Little Bigger Than Anticipated? Get Our Help Today!
Forget the edge restraint.
All projects need to be restrained, and you’ve probably noticed that most jobs already have some sort of restraint available: foundation wall or garage sill. Our advice is to use an invisible edge system for the other sides that is spiked into the base material.
This can also be used to map out your design, especially if you’re incorporating curves in a walkway or patio. You’ll be able to see the true outline of the design before nailing it down and committing to the permanence of concrete. It’s a win-win!